AWS Lambda – 环境设置
在开始使用 AWS Lambda 之前,您需要使用 Amazon 控制台登录。AWS Lambda 支持两个 IDE:Visual Studio 和 Eclipse。在本章中,我们将详细讨论 AWS Lambda 的安装步骤。
在 AWS 控制台中创建登录
您可以使用 Amazon 免费套餐在 AWS 控制台中免费创建登录。您可以按照以下步骤使用 Amazon 创建登录以使用 Amazon 服务 −
步骤 1
转到 https://aws.amazon.com/free/ 并单击创建免费帐户。您可以看到下面的屏幕截图 −

第 2 步
单击创建免费帐户按钮,您将被重定向到如下所示的屏幕 −
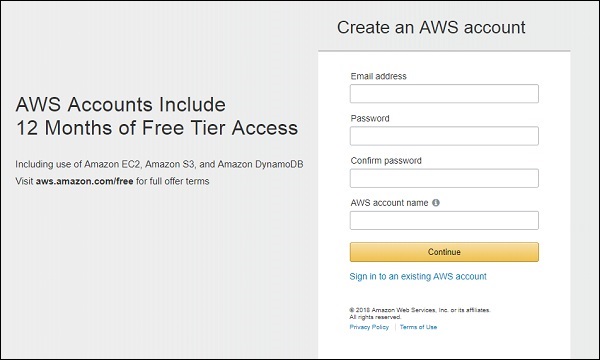
现在,根据您的选择在上面显示的表单中填写电子邮件地址、密码和 AWS 帐户名称的详细信息,然后单击继续。
第 3 步
现在,您可以看到如下所示的屏幕 −
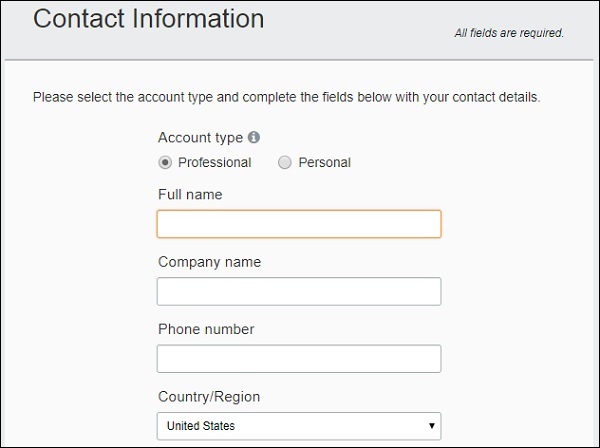
在此表单中输入所有必需的详细信息。
请注意,根据所选国家/地区,需要支付最低费用。输入的详细信息验证通过后,将退还相应费用。您需要信用卡或借记卡详细信息才能创建免费帐户。对于印度用户,将扣除2/- 卢比,对于美国用户,将收取1 美元。验证用户后,将向相应的卡用户退还相应费用。
请注意,该帐户是免费的,并且服务的使用有限制。如果使用量超出限制,用户将被收取费用。
在上面显示的表单中输入详细信息后,单击创建帐户并继续。
您将被重定向到下一个屏幕,如下所示。
步骤 4
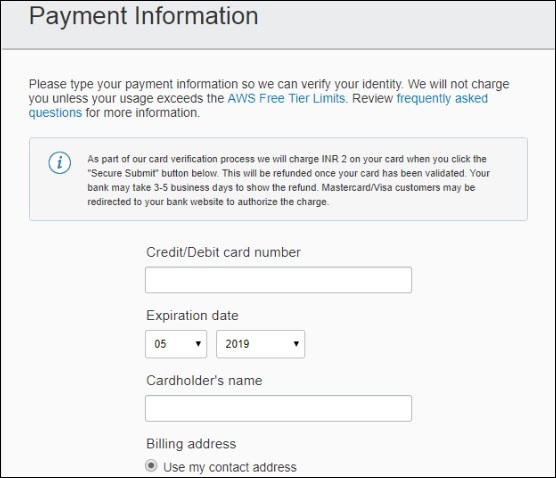
您需要输入付款详细信息,即信用卡或借记卡,以及其有效期和持卡人姓名,如下所示 −
步骤 5
输入所有详细信息后,单击安全提交,它将通过银行验证该卡,并在您的手机上为您提供与该卡关联的OTP。您可以找到如下所示的窗口 −
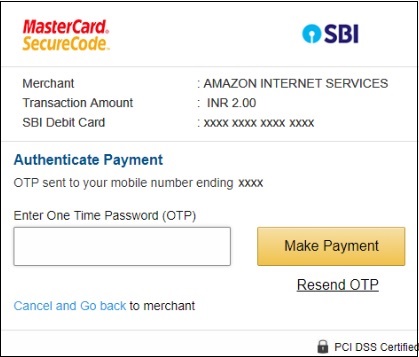
现在,输入 OTP 详细信息并单击 付款。您将根据所选国家/地区付费。
第 6 步
付款完成后,下一步是电话验证。您需要输入您的手机号码,如下所示 −
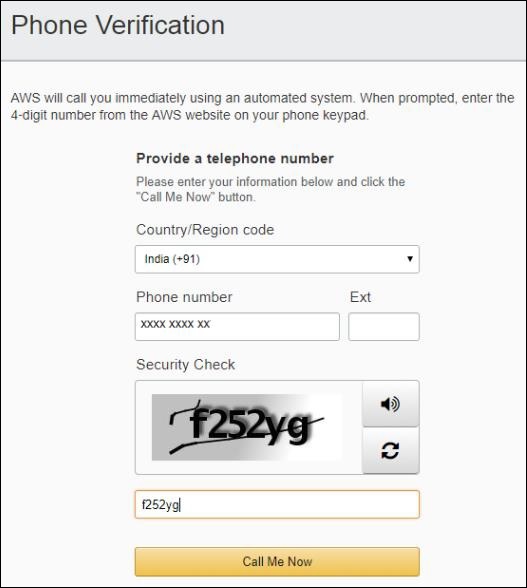
填写详细信息后,单击 立即致电我。AWS 将使用自动系统立即致电。当通话提示时,使用手机键盘将 AWS 网站上显示的 4 位数字输入到您的手机中。这将验证您的号码,您将在创建登录时指定的邮件 ID 中收到邮件激活。
第 7 步
单击邮件链接并输入帐户名称或电子邮件 ID 和密码,然后登录 AWS 服务,如下所示 −
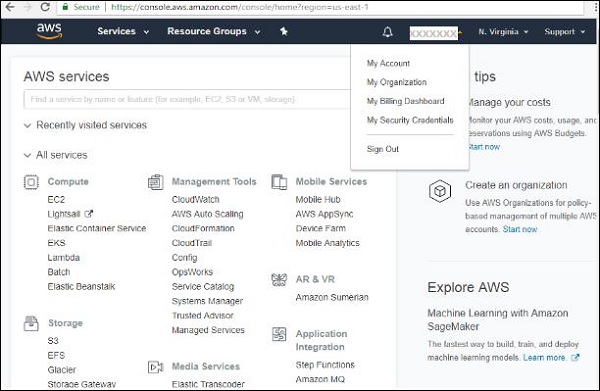
账户名称显示在右上角,如上所示。您现在可以开始使用 AWS Lambda 服务。对于 AWS Lambda 服务,支持的语言包括 NodeJS、Python、Java、C# 和 Go。
安装 Visual Studio 2017
有 2 个与 AWS 兼容的 IDE:Visual Studio 和 Eclipse。在本节中,我们将讨论在 Windows、Linux Mac 上安装 Visual Studio 2017。转到 Visual Studio 的官方网站:https://www.visualstudio.com/downloads/。您可以看到如图所示的欢迎屏幕 −
下载社区版本,即 Visual Studio Community 2017,因为它现在免费供练习使用。安装后,它将引导您完成安装步骤,您需要在其中选择稍后要使用的软件包。您可以选择nodejs、python、c#包以便我们稍后使用。

AWS Toolkit 对 Visual Studio 2017 的支持
安装 Visual Studio 2017 后,您必须按照给定的步骤安装 AWS Toolkit 对 Visual Studio 2017 的支持 −
步骤 1
转到 https://aws.amazon.com/visualstudio/ 并下载 AWS Toolkit for Visual Studio。显示如下图所示 −

请注意,为 Visual Studio 2017 下载的包是 vsix 包。如果您的 Visual Studio 版本在 2013-2015 之间,它将安装 msi 安装程序。单击下载按钮,如下所示。

步骤 2
现在,双击下载的 vsix 包,它将引导您完成安装步骤,如下所示 −
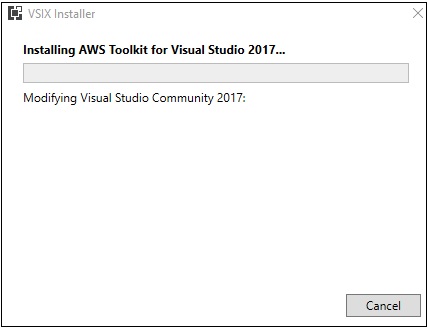
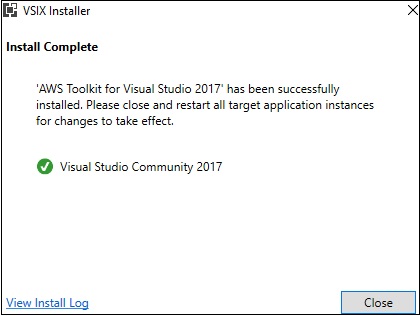
成功安装 Visual Studio 后,您将看到一个窗口,如下所示 −
步骤 3
现在,打开 Visual Studio 2017,您应该会看到来自 AWS 的欢迎页面,如下所示−
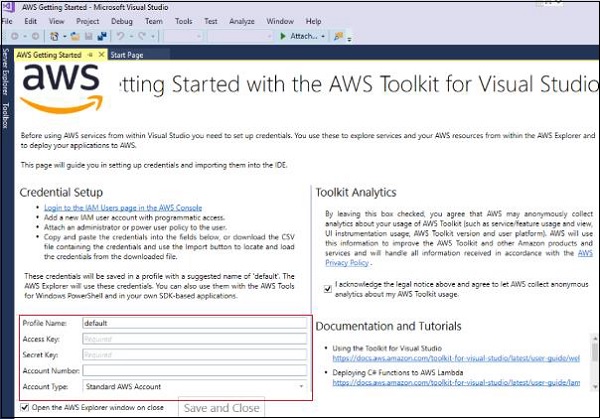
请注意,您需要添加访问密钥、密钥和帐号才能开始使用 Visual Studio 中的 AWS 服务。
适用于 NodeJS 的 AWS Lambda BoilerPlate
您可以将其与 visual studio code 一起使用,如下所示。
步骤 1
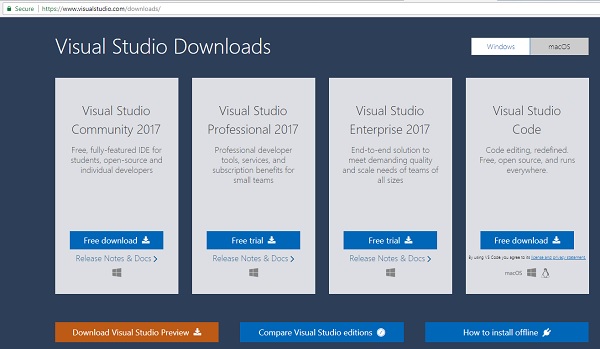
您可以从官方网站免费下载 Visual studio code:https://www.visualstudio.com/downloads/。 Visual Studio 下载的主页如下所示 −
步骤 2
现在,打开 Visual Studio 代码,如下所示 −
步骤 3
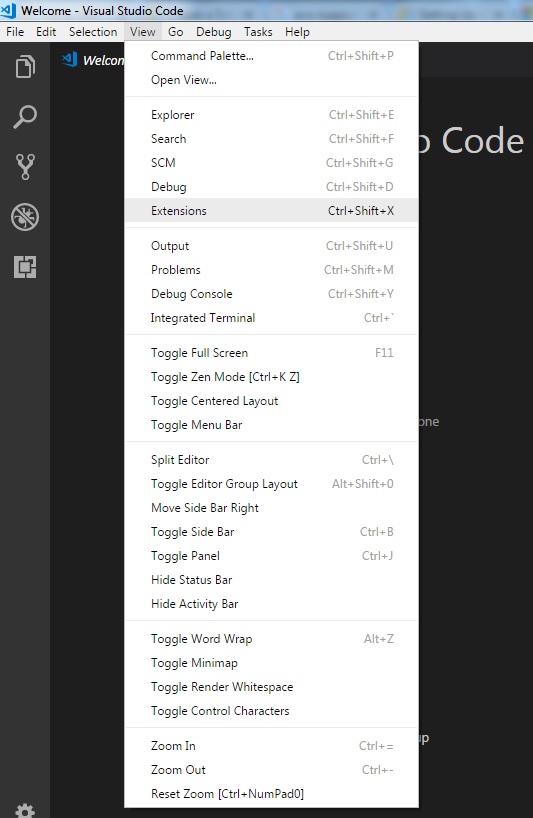
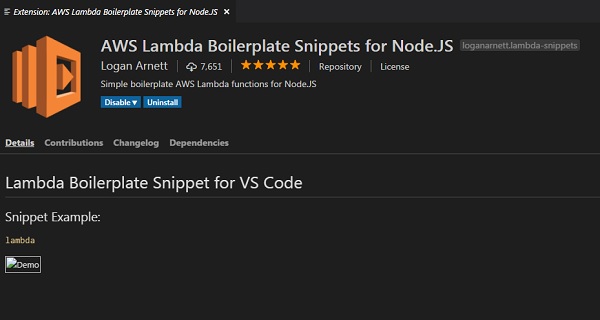
要安装对 AWS 的支持,扩展中提供了 对 nodejs 的支持 选项。您可以搜索 AWS,它将显示以下选项 −
步骤 4
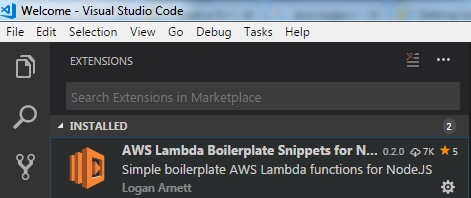
现在,在 nodejs 中安装 AWS Lambda 的样板,如图所示 −
步骤 5
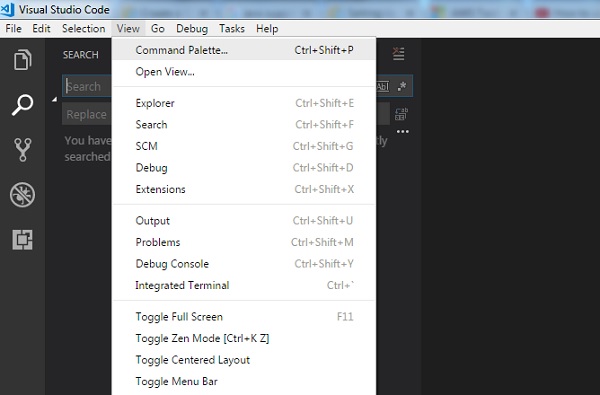
单击存储库并在 Visual Studio 中克隆它,以开始在 Visual Studio 中编写 Lambda 函数。它会将您重定向到我们可以在 Visual Studio 中克隆的此存储库:https://github.com/loganarnett/vscode-lambda-snippets。现在,从 Visual Studio 中的 View 选项打开命令面板。
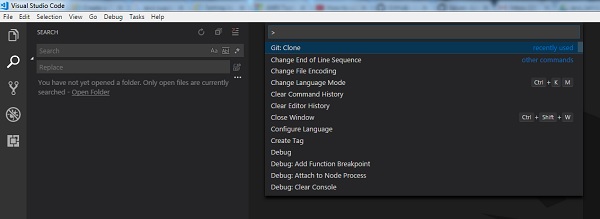
第 6 步
单击它并选择 git clone,如下所示 −
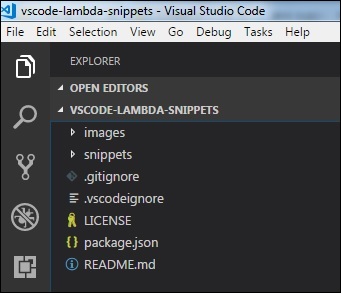
第 7 步
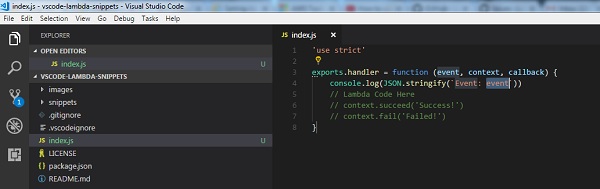
输入存储库 URL 并根据您的选择在本地保存。按照如下所示创建 index.js 文件以使用 lambda 函数 −
Eclipse IDE 的安装
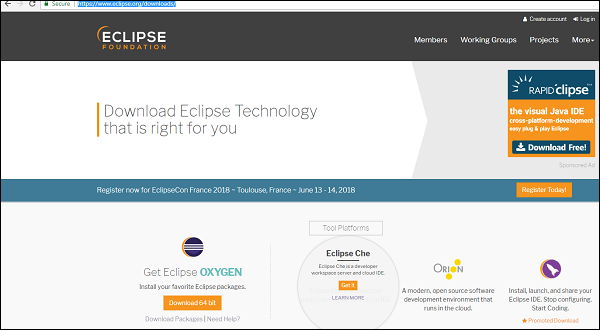
现在,您必须安装最新的 eclipse Java EE IDE。您可以从 Eclipse 官方网站下载:https://www.eclipse.org/downloads/
AWS Toolkit 对 Eclipse IDE 的支持
安装 Eclipse 后,执行以下步骤 −
步骤 1
从菜单中转到帮助,然后单击安装新软件。
步骤 2
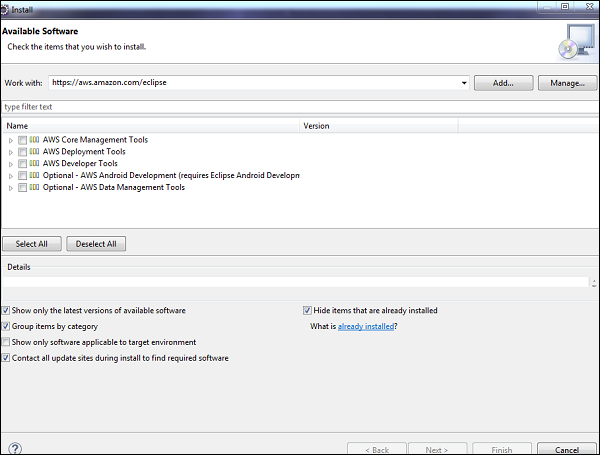
输入 https://aws.amazon.com/eclipse,在对话框顶部标有 Work with 的文本框中输入。
步骤 3
现在,从下面显示的列表中选择所需的 AWS Core Management Tools 和其他可选项目。
步骤 4
现在,单击 Next。 Eclipse 将引导您完成下面给出的后续步骤中给出的剩余安装步骤。
步骤 5
AWS 核心模块显示在下面的网格中,如下面的屏幕截图所示 −

步骤 6
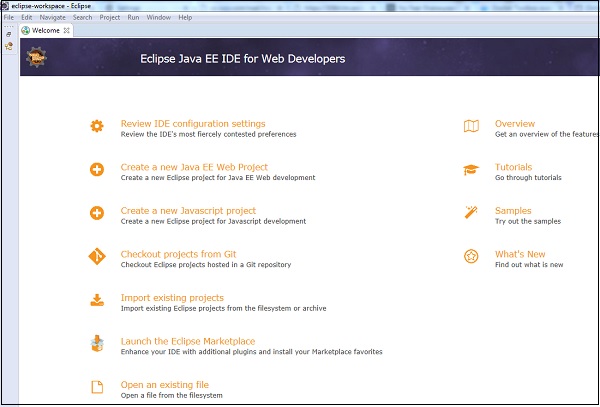
安装后,AWS 工具将在 Eclipse 中可用,如下所示 −
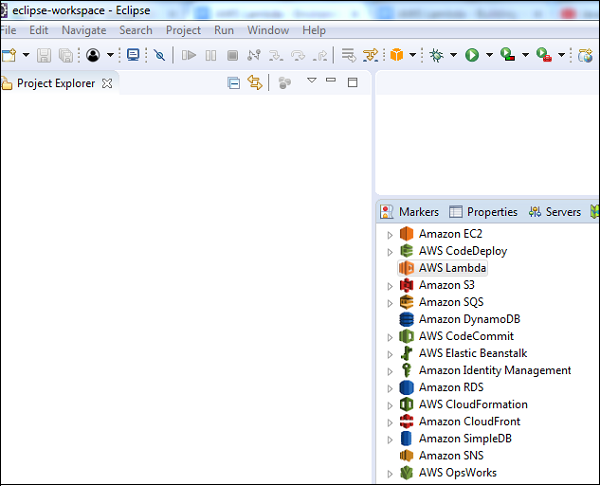
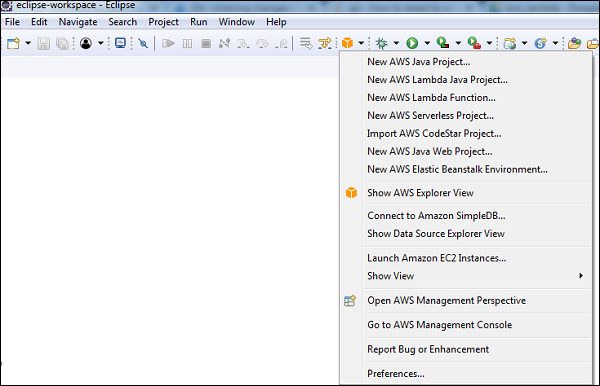
步骤 7
单击 Amazon服务。
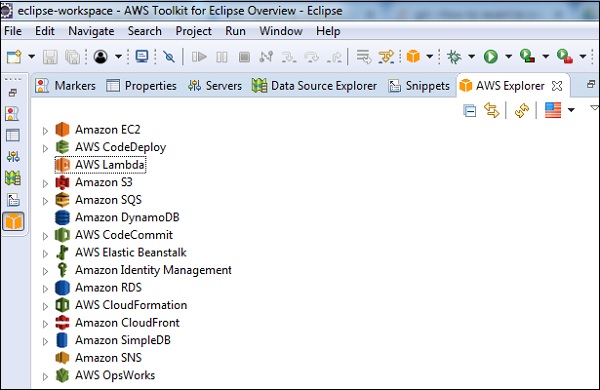
现在,单击 AWS Explorer 查看可用的服务。我们将在接下来的章节中讨论如何使用已安装的 IDE。


