在 Matplotlib 中为所有子图设置相同的轴限制
matplotlibpythondata visualization
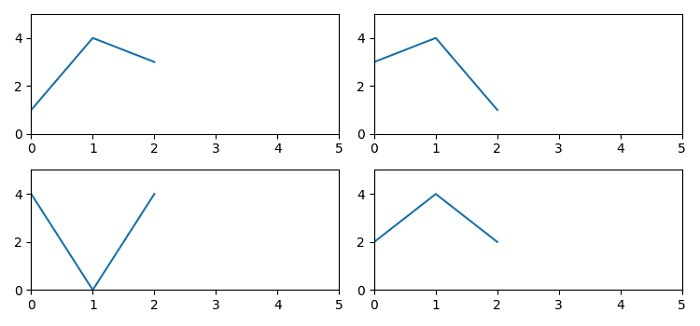
要为 matplotlib 中所有子图设置相同的轴限制,我们可以使用 subplot() 方法创建 4 个子图,其中 nrows=2、ncols=2 分别具有 x 轴和 y 轴。
步骤
设置图形大小并调整子图之间和周围的填充。
在索引 1 处向当前图形添加子图。
使用 set_xlim() 和 set_ylim() 方法设置 x 和 y 轴视图限制。
在轴 1 上绘制一条线(步骤2)。
在索引 2 处向当前图形添加一个子图,限制相同(步骤 3)。
在轴 2 上绘制一条线。
在索引 3 处向当前图形添加一个子图,限制相同(步骤 3)。
在轴 3 上绘制一条线。
在索引 4 处向当前图形添加一个子图,限制相同(步骤 3)。
在轴 4 上绘制一条线。
要显示图形,请使用 show() 方法。
示例
from matplotlib import pyplot as plt
plt.rcParams["figure.figsize"] = [7.50, 3.50]
plt.rcParams["figure.autolayout"] = True
ax1 = plt.subplot(2, 2, 1)
ax1.set_xlim(left=0, right=5)
ax1.set_ylim(bottom=0, top=5)
ax1.plot([1, 4, 3])
ax2 = plt.subplot(2, 2, 2, sharey=ax1, sharex=ax1)
ax2.plot([3, 4, 1])
ax3 = plt.subplot(2, 2, 4, sharey=ax1, sharex=ax1)
ax3.plot([2, 4, 2])
ax4 = plt.subplot(2, 2, 3, sharey=ax1, sharex=ax1)
ax4.plot([4, 0, 4])
plt.show()
输出


