Next.js - 预渲染
在 Next.js 中,我们知道它会为页面生成 HTML,这称为预渲染。Next.JS 支持两种类型的预渲染。
静态生成 − 此方法在构建时生成 HTML 页面。此预渲染 HTML 在每个请求中发送。此方法适用于营销网站、博客、电子商务产品列表网站、帮助、文档网站。
服务器端生成 − 此方法在每个请求中生成 HTML 页面。此方法适用于 html 页面内容随每个请求而变化的情况。
每页预渲染
Next.JS 允许为每个页面设置预渲染方法,其中大多数页面遵循静态生成,其他页面将使用服务器端渲染。
无数据的静态生成
静态生成可以在没有数据的情况下完成,在这种情况下,HTML 页面将准备就绪,而无需预取数据然后开始渲染。数据可以稍后或根据请求获取。如果数据需要时间才能到达,此技术有助于向用户显示没有任何数据的用户界面。
有数据的静态生成
静态生成可以在有数据的情况下完成,在这种情况下,HTML 页面在获取数据之前不会准备就绪,因为 HTML 可能依赖于数据。每个组件都有一个特殊方法 getStaticProps,可用于获取数据并将数据作为页面的 props 传递,以便页面可以根据传递的 props 进行渲染。
getStaticProps() 函数在生产环境中的构建时运行,并在开发模式下针对每个请求运行。
让我们创建一个示例来演示相同内容。
在此示例中,我们将创建一个更新 index.js 和 first.js 页面,以使服务器命中以获取数据。
让我们更新 全局 CSS 支持 一章中使用的 nextjs 项目。
更新 pages 目录中的 index.js 文件以使用 getServerSideProps() 方法。此方法将在每个请求中调用。
import Link from 'next/link'
import Head from 'next/head'

function HomePage(props) {
   return (
      <>
         <Head>
            <title>Welcome to Next.js!</title>
         </Head>
         <div>Welcome to Next.js!</div>
         <Link href="/posts/first"><a>First Post</a></Link>
         <br/>
         <div>Next stars: {props.stars}</div>
         <img src="/logo.png" alt="TutorialsPoint Logo" />
      </>
   )
}

export async function getServerSideProps(context) {
   const res = await fetch('https://api.github.com/repos/vercel/next.js')
   const json = await res.json()
   return {
      props: { stars: json.stargazers_count }
   }
}

export default HomePage
更新 pages 目录中的 first.js 文件以使用 getStaticProps() 方法。此方法将被调用一次。
import Link from 'next/link'
import Head from 'next/head'
import Container from '../../components/container'

export default function FirstPost(props) {
   return (
      <>
         <Container>
            <Head>
               <title>My First Post</title>
            </Head>
            <h1>My First Post</h1>
            <h2>
               <Link href="/">
                  <a>Home</a>
               </Link>
               <div>Next stars: {props.stars}</div>
            </h2>
         </Container>
      </>
   )
}

export async function getStaticProps() {
   const res = await fetch('https://api.github.com/repos/vercel/next.js')
   const json = await res.json()
   return {
      props: { stars: json.stargazers_count }
   }
}
启动 Next.js 服务器
运行以下命令启动服务器 −.
npm run dev
> nextjs@1.0.0 dev \Node
extjs
> next

ready - started server on http://localhost:3000
event - compiled successfully
event - build page: /
wait  - compiling...
event - compiled successfully
event - build page: /next/dist/pages/_error
wait  - compiling...
event - compiled successfully
验证输出
在浏览器中打开 localhost:3000,您将看到以下输出。
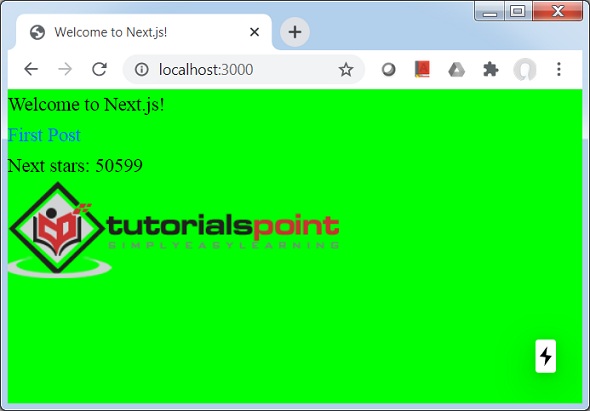
单击"第一篇帖子"链接。


