TurboGears - 部署
要从开发环境切换到成熟的生产环境,需要在真实的 Web 服务器上部署应用程序。根据您拥有的内容,可以使用不同的选项来部署 TurboGears Web 应用程序。
带有 mod_wsgi 的 Apache
mod_wsgi 是 Graham Dumpleton 开发的 Apache 模块。它允许使用 Apache Web 服务器提供 WSGI 程序。
首先,如果尚未安装,请为您的平台安装 Apache 2.X。安装 Apache 后,安装 mod_wsgi。在服务器上创建并激活 Python 虚拟环境,并在其中安装 TurboGears。
在应用程序目录中安装您的应用程序,然后创建一个名为 app.wsgi 的脚本。
按如下方式配置 Apache 安装 −
<VirtualHost *:80>
   ServerName www.site1.com
   WSGIProcessGroup www.site1.com
   WSGIDaemonProcess www.site1.com user = <username>
      group = www-data threads = 4 python-path = <pythonpath>
   WSGIScriptAlias myapp/app.wsgi

   #Serve static files directly without TurboGears
   Alias /images
   Alias /css
   Alias /js
   CustomLog
   ErrorLog
</VirtualHost>
重新启动 Apache
在浏览器中输入 http://www.site1.com/ 以访问应用程序。
Circus 和 Chaussette 下的 TurboGears
Circus 是一个进程和套接字管理器。它可用于监视和控制进程和套接字。与 Chaussette WSGI 服务器配对时,它可以成为部署应用程序和管理应用程序所需的任何相关进程的强大工具。
TurboGears - GoogleAppEngine
从以下 URL 安装适用于 Python 的 Google AppEngine SDK − https://cloud.google.coms
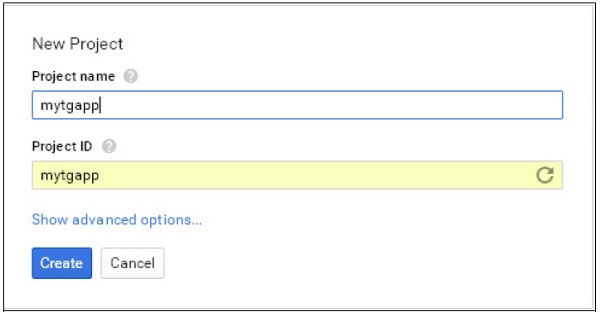
在您的系统上安装 Google AppEngine。然后打开 Google 开发者控制台并使用您的 Google 帐户登录 − https://console.developers.google.com/start
创建一个名为 mytgapp 的新项目 −
使用 Google AppEngine Launcher 创建一个名为 mytgapp 的新应用程序。
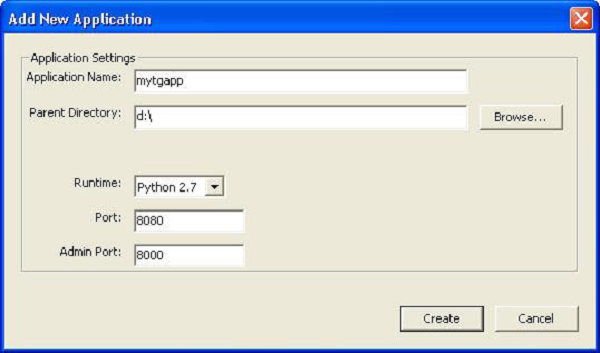
将在指定目录中创建以下文件 −
- app.yaml
- favicon.ico
- index.yaml
- main.py
默认情况下,创建的应用程序依赖于 Webapp2 框架。要删除此依赖项,请编辑 app.yaml 文件并删除以下部分 −
libraries:
    - name: webapp2
    version: "2.5.2"
在名为 mytgapp 的目录中创建一个临时虚拟环境并安装 TurboGears。在其中创建一个 TurboGears 应用程序。现在我们可以继续编辑由 AppEngine 启动以运行我们的应用程序的 main.py 文件,并在其中实际编写一个 TurboGears 应用程序。
在 main.py 中添加以下内容−
import os
import site
site.addsitedir(os.path.join(os.path.dirname(__file__), 'packages'))
from tg import expose, TGController, AppConfig

class RootController(TGController):
   @expose()
   def index(self):
      return "<h1>Hello World</h1>"

config = AppConfig(minimal = True, root_controller = RootController())
app = config.make_wsgi_app()
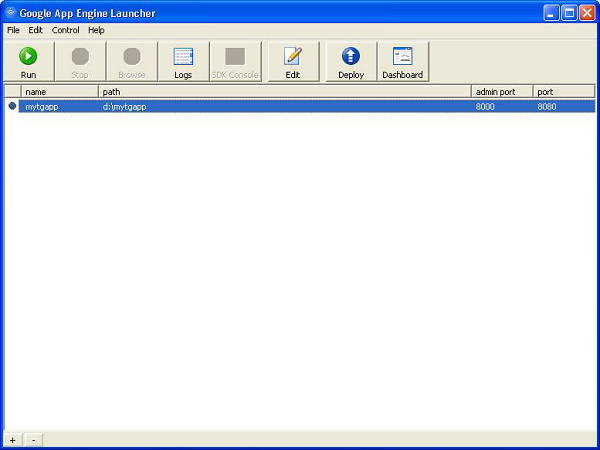
现在从 AppEngine Launcher 运行应用程序并单击浏览按钮以查看该应用程序在本地主机上是否正常运行。
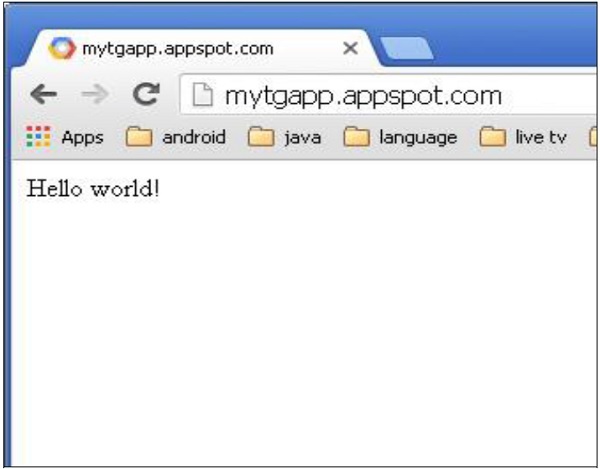
我们已经在开发者控制台中创建了一个名为 mytgapp 的项目。现在单击 Launcher 中的部署按钮。部署过程结束后,请访问 http://mytgapp.appspot.com/ 在线查看我们的应用程序。