CI - 在 TeamCity 中创建项目
现在我们的源代码已保存在 Git 存储库中,并且所有初始代码均可在构建服务器上运行,现在是时候在持续集成服务器中创建项目了。这可以通过以下步骤完成 −
步骤 1 − 登录 TeamCity 软件。转到持续集成服务器上的 URL − http://localhost:8080/login.html。
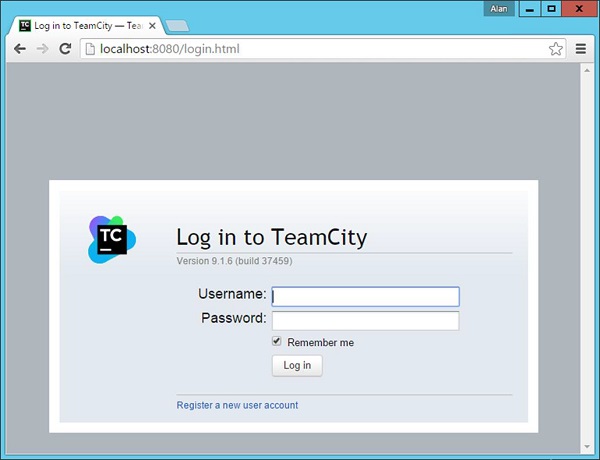
输入管理员凭据并登录服务器。
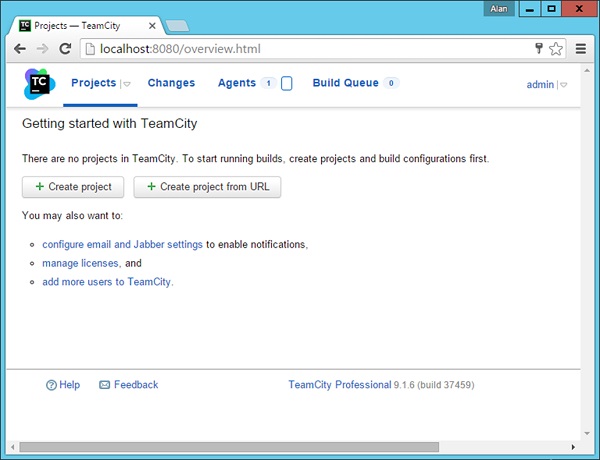
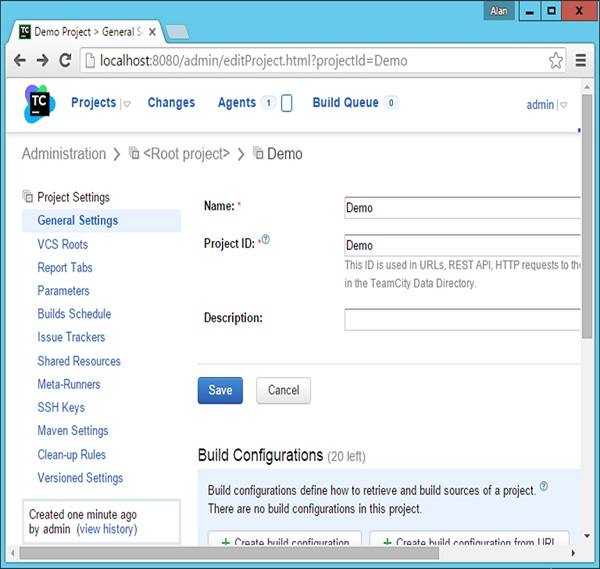
步骤 2 − 登录后,您将看到主屏幕。单击创建项目以启动新项目。
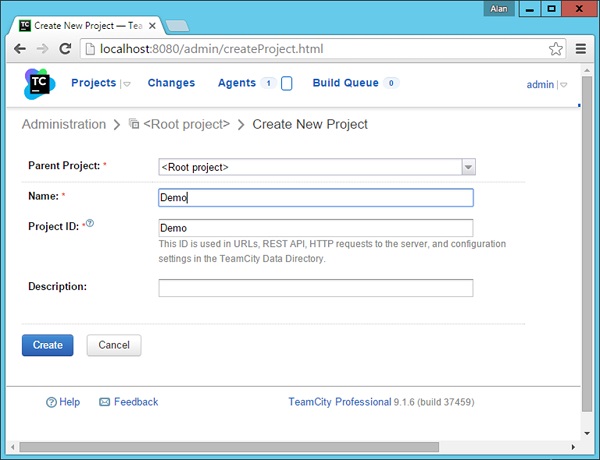
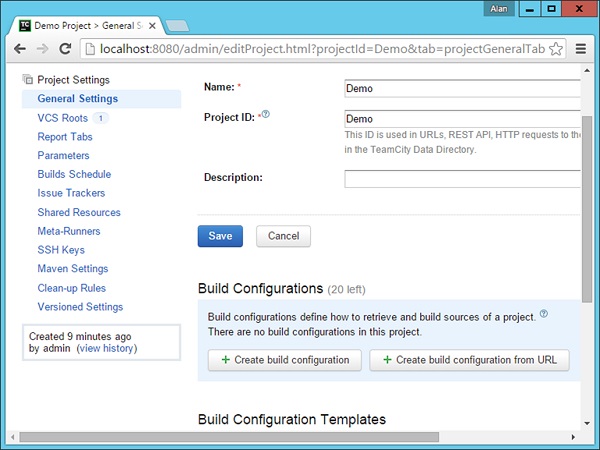
步骤 3 − 为项目命名,然后单击"创建"以启动项目。 在我们的例子中,我们将项目命名为"Demo",如以下屏幕截图所示。
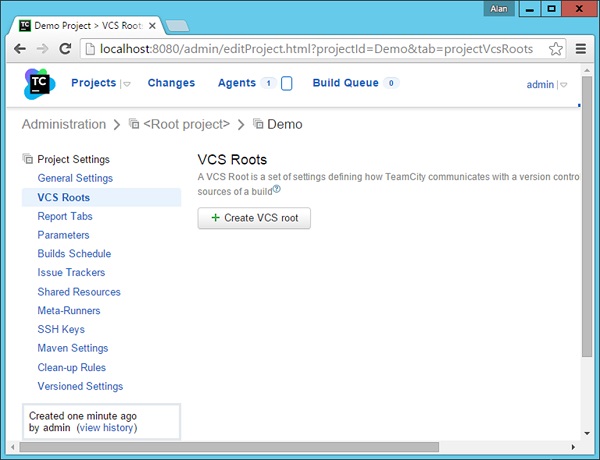
步骤 4 − 下一步是提及将在我们的项目中使用的 Git 存储库。 请记住,在持续集成环境中,CI 服务器需要从启用 Git 的存储库中获取代码。 我们已经在前面的步骤中将我们的项目文件夹启用为启用 Git 的存储库。 在 TeamCity 中,您需要创建一个 VCS 根。为此,请单击项目主屏幕中的 VCS Roots。
步骤 5 − 在接下来出现的屏幕中,单击 Create VCS root,如以下屏幕截图所示。
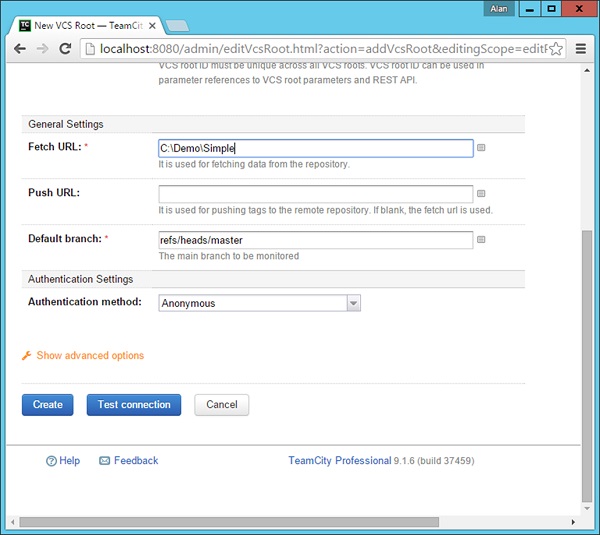
步骤 6 − 在接下来出现的屏幕中,执行以下步骤 −
将 VCS 类型指定为 Git。
为 VCS 根命名,可以是任何友好名称。我们将其命名为 App。
将 Fetch URL 指定为 C:\Demo\Simple – 这是 我们的 git 启用的存储库。
如果向下滚动屏幕,您将看到一个测试连接按钮。单击它以确保您可以成功连接到启用 Git 的存储库。

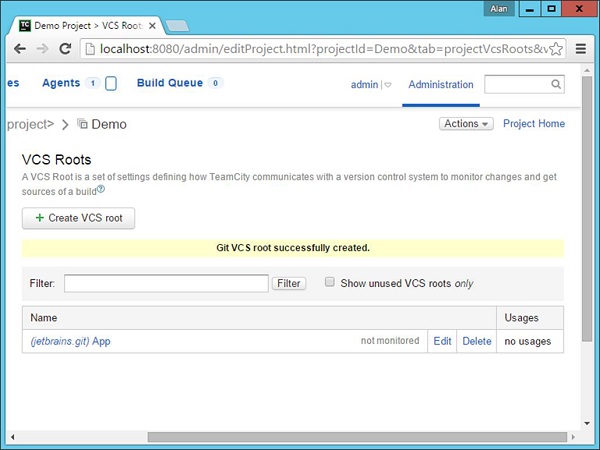
步骤 7 −单击"创建",您现在将看到已注册的存储库,如下图所示。
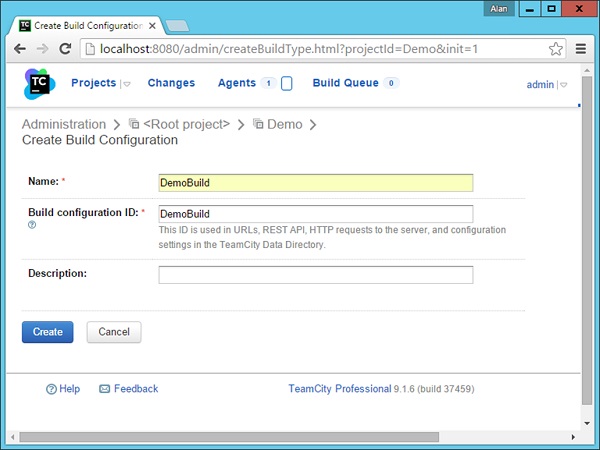
步骤 8 − 下一步是创建用于构建项目的构建配置。转到 TeamCity → 常规设置 中的项目屏幕。单击"创建构建配置"。
步骤 9 − 在以下屏幕中,为构建配置命名。在我们的例子中,我们将其命名为 DemoBuild,然后单击"创建"。
步骤 10 − 在出现的下一个屏幕中,系统将要求您选择在前面的步骤中创建的 VCS 存储库。因此,选择名称 'App' 并单击"附加"。
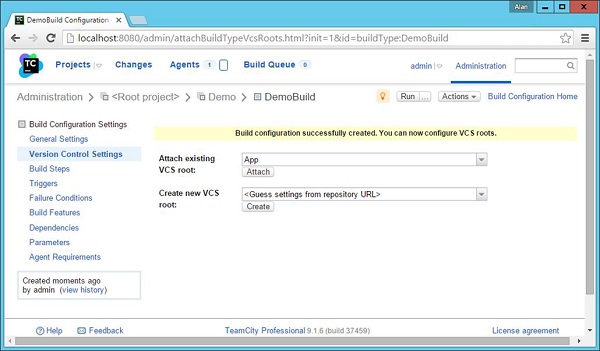
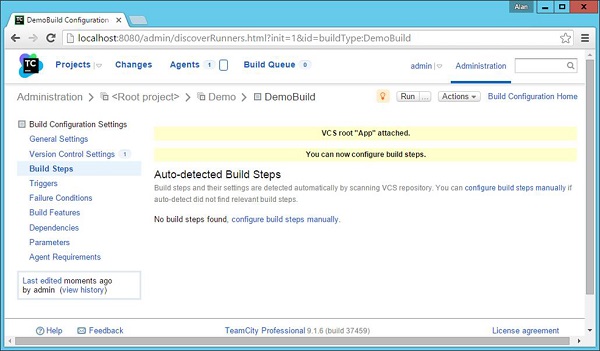
步骤 11 − 现在在弹出的下一个屏幕中,我们需要配置构建步骤。因此,请单击"手动配置构建步骤"超链接。
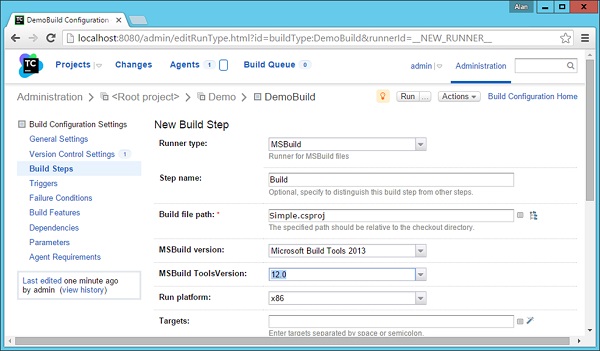
第 12 步 − 在下一个构建屏幕中,我们需要输入以下详细信息 −
选择 Runner 类型为 MSBuild。
为步骤名称提供一个可选名称。
提供需要构建的文件的名称。当我们在前面的部分中指定 MSbuild 时,我们通常会看到我们给出 Simple.csproj 选项。这里需要指定相同的内容。
选择 MSBuild 版本为'Microsoft Build Tools 2013'。
选择 MSBuild ToolsVersion 为 12.0。
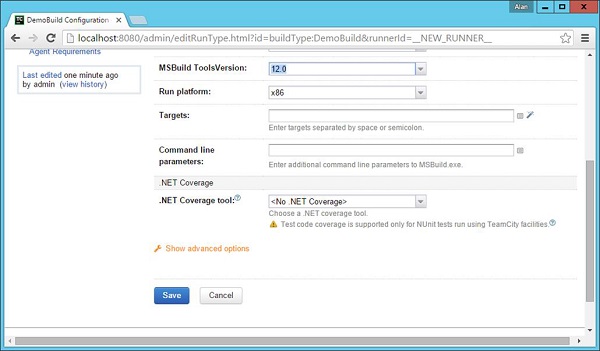
向下滚动页面以保存设置。
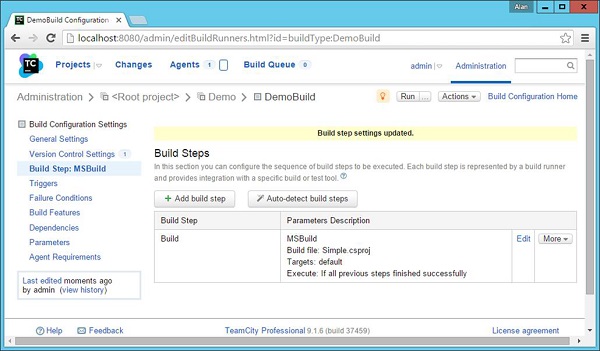
步骤 13 −在下一个屏幕中,单击"运行"。
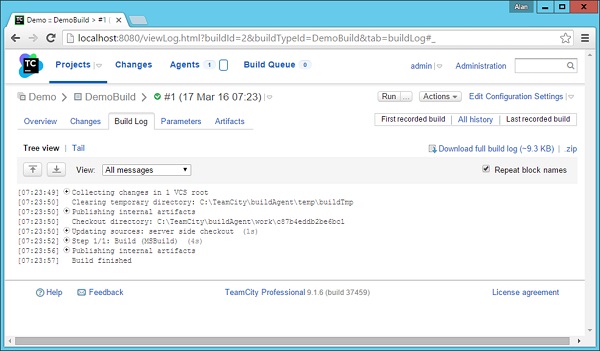
您将看到应用程序的构建正在进行中。
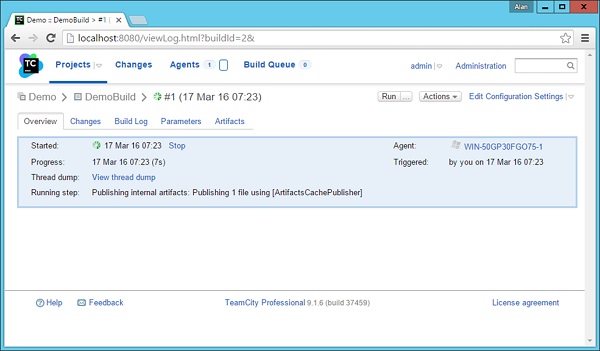
您应该看到一个成功屏幕,这表明您的解决方案正在正确构建。
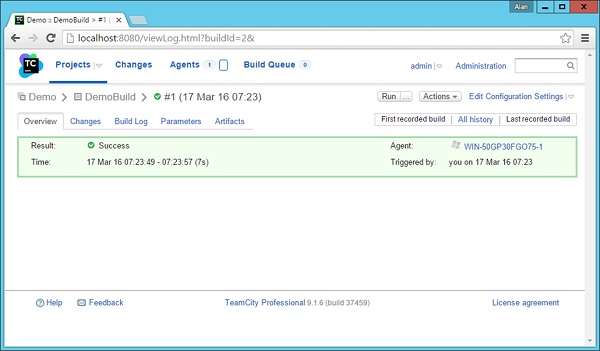
您还可以转到构建日志以查看持续集成服务器涵盖的所有步骤,如以下屏幕截图所示。