如何使用 Python 中的 OpenCV 为图像找到高斯金字塔?
在许多情况下,我们需要处理同一幅图像的不同分辨率和大小。在图像金字塔的概念中,我们找到具有不同分辨率和原始图像大小的图像。高斯金字塔是一种图像金字塔。
为了找到高斯金字塔,OpenCV 为我们提供了两个函数cv2.pyrDown()和cv2.pyrUp()。
函数cv2.pyrDown()通过删除输入图像中的连续行和列来降低分辨率。输出图像的宽度和高度变为输入图像的一半,面积减小到四分之一。
函数 cv2.pyrUp() 通过添加输入图像中的连续行和列来增加分辨率。输出图像的宽度和高度变为输入图像的两倍,面积增大到四倍。
我们可以通过向下或向上级别来创建高斯金字塔。要创建向下级别的高斯金字塔,我们应用 cv2.pyrDown() 函数。在创建向上级别的高斯金字塔时,我们应用 cv2.pyrUp() 函数。
在创建高斯金字塔时,将原始图像设置为基础图像。使用这两个函数可以找到更高的层级。
示例 1
在此示例中,我们创建了一个 3 层高斯金字塔。我们使用 cv.pyrDown()将层级向下移动两次。
# import the required libraries
import cv2

# Load the image. it is the level 1 of Gaussian Pyramid
img = cv2.imread('car.jpg')

# obtain level 2 image (decrease the resolution)
pyramid1 = cv2.pyrDown(img)

# obtain level 3 image of Gaussian Pyramid (decrease the resolution)
pyramid2 = cv2.pyrDown(pyramid1)

# define three windows to display three Level images
cv2.imwrite('pyramid2.jpg', pyramid2)
cv2.namedWindow('Layer 1', cv2.WINDOW_AUTOSIZE)
cv2.namedWindow('Layer 2', cv2.WINDOW_AUTOSIZE)
cv2.namedWindow('Layer 3', cv2.WINDOW_AUTOSIZE)

# Display all the level images
cv2.imshow('Layer 1', img)
cv2.imshow('Layer 2', pyramid1)
cv2.imshow('Layer 3', pyramid2)
cv2.waitKey(0)
cv2.destroyAllWindows()
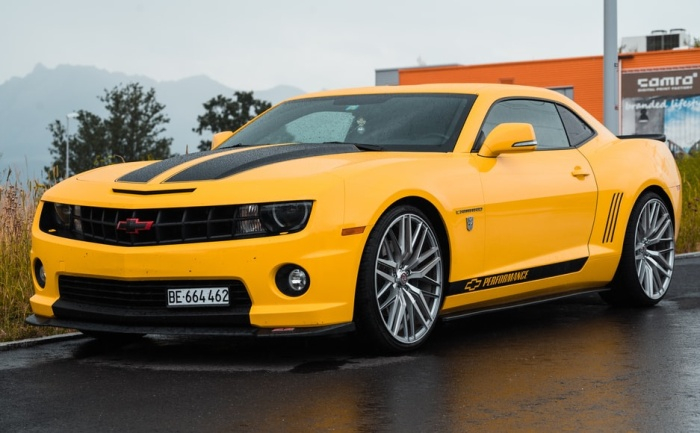
我们将使用以下图像"car.jpg"作为上述程序代码中的输入文件。
输出
执行时,它将生成以下输出 窗口。
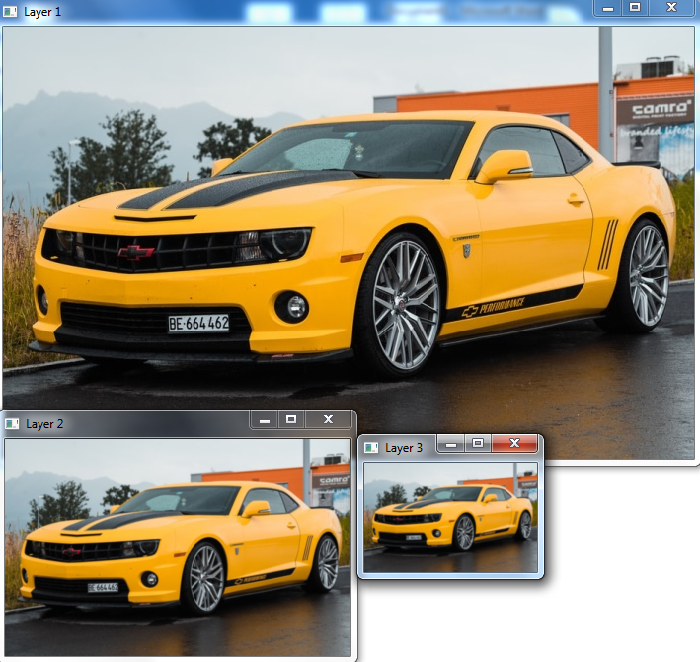
上述输出显示较高级别(例如第 2 层)的分辨率比较低级别(例如第 1 层)的分辨率降低了一半。同理,第 3 层的分辨率是第 2 层的一半。
注意− 上面得到的第 3 层的输出图像将用作下面示例 2 的输入。
示例 2
在此示例中,我们创建了一个 3 层高斯金字塔进行升级。我们使用 cv2.pyrUp() 升级了两次。
import cv2
img = cv2.imread('pyramid2.jpg')

pyr1 = cv2.pyrUp(img)
pyr2 = cv2.pyrUp(pyr1)

cv2.namedWindow('Layer 1', cv2.WINDOW_AUTOSIZE)
cv2.namedWindow('Layer 2', cv2.WINDOW_AUTOSIZE)
cv2.namedWindow('Layer 3', cv2.WINDOW_AUTOSIZE)

cv2.imshow('Layer 1', img)
cv2.imshow('Layer 2', pyr1)
cv2.imshow('Layer 3', pyr2)

cv2.waitKey(0)
cv2.destroyAllWindows()
输出
执行上述代码后,将生成以下输出窗口。
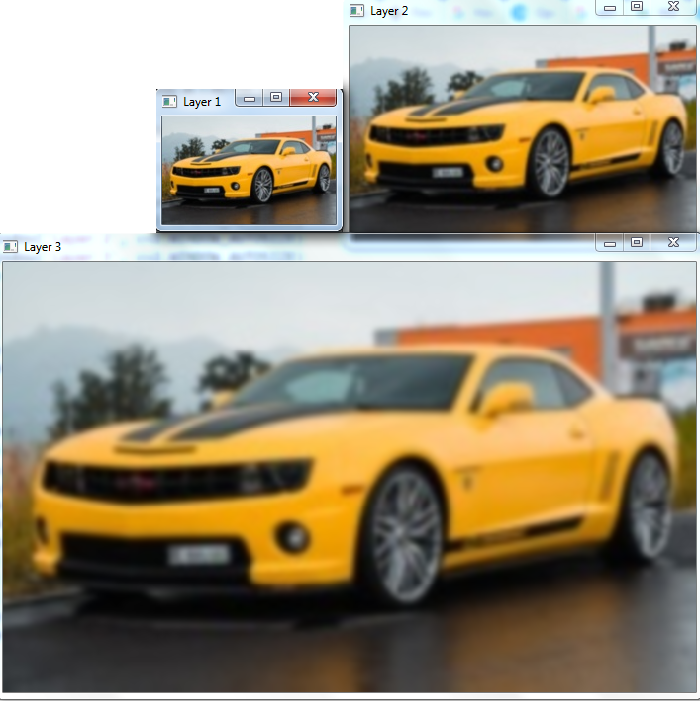
上述输出显示,较高级别(例如第 2 层)的分辨率是较低级别(例如第 1 层)分辨率的两倍。同样,第 3 层的分辨率是第 2 层的两倍。
请注意示例 1 中的输入图像与示例 2 输出中的第 3 层图像之间的差异。


