如何使用 Python 在 OpenCV 中绘制填充椭圆?
要在图像上绘制填充椭圆,我们使用 cv2.ellipse()方法。此方法接受不同的参数来绘制不同类型的椭圆。
语法
cv2.ellipse(img,center,axes,angle,start_angle,end_angle,color,thickness)
参数
img − 要在其上绘制椭圆的输入图像。
center − 椭圆的中心坐标。
axes − (长轴长度,短轴长度) 格式的元组。
angle − 椭圆的旋转角度(以度为单位)。
start_angle − 椭圆的起始角度椭圆弧的度数。
end_angle − 椭圆弧的结束角度,以度为单位。
color − 要绘制的椭圆的颜色。
thickness − 椭圆边框线的粗细,以 px 为单位。要绘制填充的椭圆,请设置"thickness = -1"。
输出 − 返回绘制了椭圆的输入图像。
步骤
您可以使用以下步骤在输入图像上绘制填充的椭圆 −
导入所需的库。在以下所有 Python 示例中,所需的 Python 库均为 OpenCV。确保您已经安装了它。
import cv2
使用 cv2.imread() 读取输入图像并将其转换为灰度。
img = cv2.imread('window1.jpg')
定义要传递给 cv2.ellipse() 方法的参数。这些参数是 img、center、axes、angle、start_angle、end_angle、color 和 thicken。要绘制填充的椭圆,请设置"thickness=-1"。
cv2.ellipse(img,center,axes,angle,start_angle,end_angle,color,thickness)
显示带有绘制椭圆的图像。
cv2.imshow("Ellipse", img)
cv2.waitKey(0)
cv2.destroyAllWindows()
让我们看一些例子以便更清楚地理解。
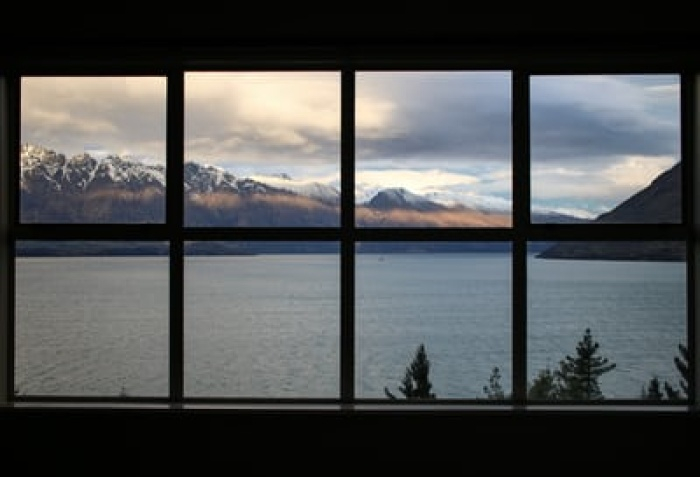
我们在下面的例子中使用以下图像作为输入文件。
示例 1
在下面的 Python 程序中,我们在输入图像上绘制一个填充的椭圆。
# import required libraries
import cv2

# read the input image
img = cv2.imread('window1.jpg')

# define the arguments
center = (368,250)
axes = (150,70) # major, minor axes
angle = 20
start_angle = 0
end_angle = 360
color = (0,255,255)
thickness = -1

# Draw a filled ellipse on the input image
cv2.ellipse(img,center,axes,angle,start_angle,end_angle,color,thickness)

# display the image with drawn filled ellipse
cv2.imshow("Ellipse", img)
cv2.waitKey(0)
cv2.destroyAllWindows()
输出
执行上述代码后,将生成以下输出窗口。
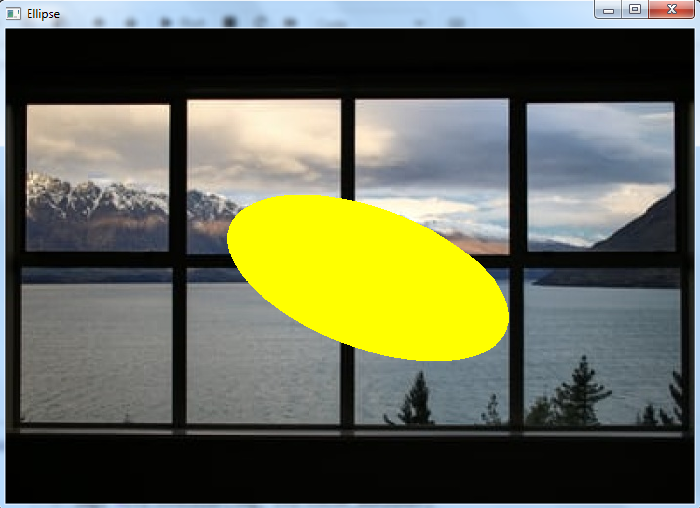
输出窗口显示在输入图像上绘制的填充椭圆。
示例 2
在下面的 Python 3 程序中,我们在输入图像上绘制了三个不同的填充椭圆。
import cv2
img = cv2.imread('window1.jpg')
img1 =cv2.cvtColor(img, cv2.COLOR_BGR2GRAY)
ret,thresh = cv2.threshold(img1,170,255,0)

# draw different shapes of ellipses
img = cv2.ellipse(img,(368,250),(100,40),30,0,180,(0,255,255),-1)
img = cv2.ellipse(img,(150,170),(86,45),-30,0,360,(0,255,0),-1)
img = cv2.ellipse(img,(578,250),(60,130),0,0,340,(0,0,255),-1)

# display the image with drawn ellipses
cv2.imshow("Ellipses", img)
cv2.waitKey(0)
cv2.destroyAllWindows()
输出
执行上述代码后,将生成以下输出窗口。
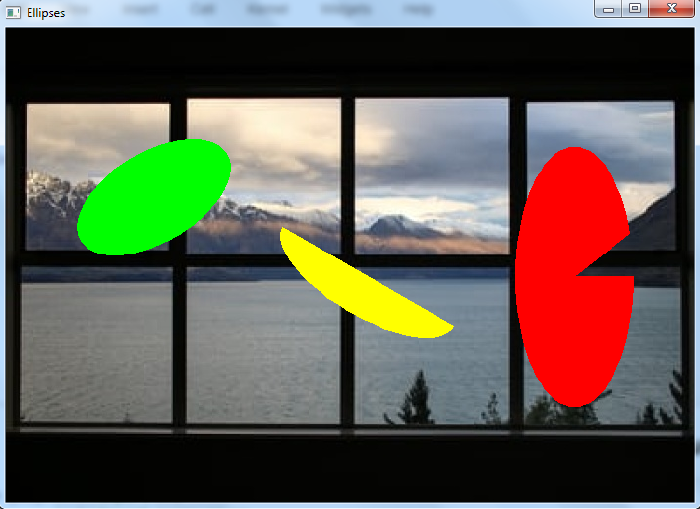
输出窗口显示在输入图像上绘制的不同类型的填充椭圆。绿色椭圆旋转"-30°"。黄色椭圆绘制一半并旋转 30°。红色椭圆的短轴大于长轴,结束于 340°。


