React Native - 图片
在本章中,我们将了解如何在 React Native 中使用图片。
添加图片
让我们在 src 文件夹中创建一个新文件夹 img。我们将在此文件夹中添加图片 (myImage.png)。
我们将在主屏幕上显示图片。
App.js
import React from 'react';
import ImagesExample from './ImagesExample.js'

const App = () => {
   return (
      <ImagesExample />
   )
}
export default App
可以使用以下语法访问本地图像。
image_example.js
import React, { Component } from 'react'
import { Image } from 'react-native'

const ImagesExample = () => (
   <Image source = {require('C:/Users/Tutorialspoint/Desktop/NativeReactSample/logo.png')} />
)
export default ImagesExample
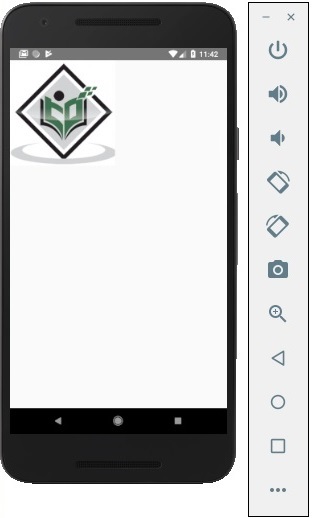
输出

屏幕密度
React Native 提供了一种使用 @2x、@3x 后缀优化不同设备图像的方法。应用程序将仅加载特定屏幕密度所需的图像。
以下是 img 文件夹中图像的名称。
my-image@2x.jpg
my-image@3x.jpg
网络图像
使用网络图像时,我们需要 source 属性,而不是 require。建议定义网络图片的宽度和高度。
App.js
import React from 'react';
import ImagesExample from './image_example.js'

const App = () => {
   return (
      <ImagesExample />
   )
}
export default App
image_example.js
import React, { Component } from 'react'
import { View, Image } from 'react-native'

const ImagesExample = () => (
   <Image source = {{uri:'https://pbs.twimg.com/profile_images/486929358120964097/gNLINY67_400x400.png'}}
   style = {{ width: 200, height: 200 }}
   />
)
export default ImagesExample
输出