Polymer - 事件
事件由可以将 DOM 树的状态变化传达给父元素的元素使用,并使用标准 DOM API 来创建、调度和监听事件。Polymer 使用带注释的事件监听器,它将事件监听器定义为 DOM 模板的小块,可以使用模板中的 onevent 注释将其添加到 DOM 子元素中。
示例
以下示例在模板中添加带注释的事件监听器。创建一个名为 index.html 的文件并将以下代码放入其中。
<!doctype html>
<html>
   <head>
      <title>Polymer Example</title>
      <script src = "bower_components/webcomponentsjs/webcomponents-lite.js"></script>
      <link rel = "import" href="bower_components/polymer/polymer.html">
      <link rel = "import" href = "annotated-eventlistners.html">
   </head>

   <body>
      <template id = "myapp" is = "dom-bind">
         //tap event is part of gesture events that fires consistently across both mobile
         //and desktop devices
         <annotated-eventlistners on-tap = "myClick"></annotated-eventlistners>
      </template>

      <script>
         var myval = document.querySelector('#myapp');
         myval.myClick =  function(e) {
            console.log('Hello World!!!');
         };
      </script>
   </body>
</html>
输出
要运行应用程序,请导航到创建的项目目录并运行以下命令。
polymer serve
现在打开浏览器并导航到 http://127.0.0.1:8000/。以下是输出。
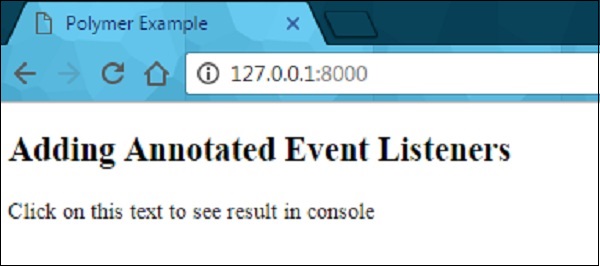
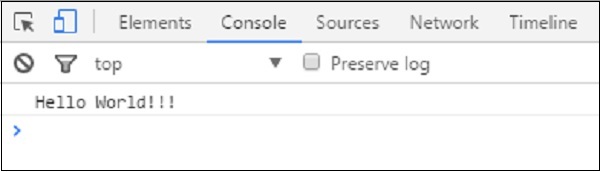
单击文本可在控制台中查看结果,如以下屏幕截图所示。
自定义事件
可以使用标准 CustomEvent 构造函数和来自主机元素的 dispatchEvent 方法触发自定义事件。
考虑以下从主机元素触发自定义事件的示例。打开 index.html 文件并在其中添加以下代码。
<!doctype html>
<html>
   <head>
      <title>Polymer Example</title>
      <script src = "bower_components/webcomponentsjs/webcomponents-lite.js"></script>
      <link rel = "import" href = "bower_components/polymer/polymer.html">
      <link rel = "import" href = "custom-event.html">
   </head>

   <body>
      <custom-event></custom-event>
      <script>
         document.querySelector('custom-event').addEventListener('customValue', function (e) {
            console.log(e.detail.customval); // true
         })
      </script>
   </body>
</html>
现在,创建另一个名为 custom-event.html 的文件并包含以下代码。
<link rel = "import" href = "bower_components/polymer/polymer-element.html">

//它指定元素本地 DOM 的开始
<dom-module id = "custom-event">
   <template>
      <h2>Custom Event Example</h2>
      <button on-click = "myClick">Click Here</button>
   </template>

   <script>
      Polymer ({
         is: "custom-event", myClick(e) {
            this.dispatchEvent(new CustomEvent('customValue', {detail: {customval: true}}));
         }
      });
   </script>
</dom-module>
输出
按照上例所示运行应用程序,然后导航至 http://127.0.0.1:8000/。以下是输出。
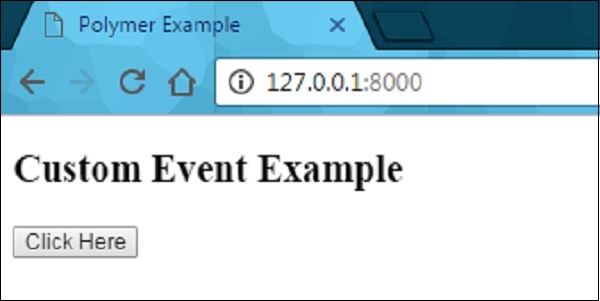
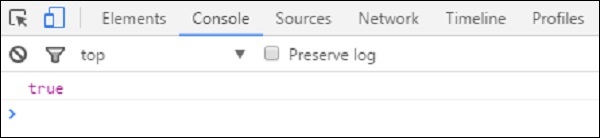
现在单击按钮,打开控制台,并查看自定义事件的真实值,如以下屏幕截图所示。
现在使用"事件重定向",它指定事件的目标,其中元素可以在与侦听元素相同的范围内表示。例如,目标可以被视为主文档中的元素,同时在主文档中使用侦听器,而不是在影子树中。您可以参考Polymer shadow dom styling一章获取更多解释和示例。
手势事件
手势事件可用于用户交互,从而定义触摸和移动设备上更好的交互。例如,点击事件是手势事件的一部分,它会在移动和桌面设备上一致触发。
您可以参考本章开头解释的手势事件示例,该示例使用在模板中添加带注释的事件监听器的on-tap事件。
下表列出了不同类型的手势事件类型。
| Sr.No. | 事件类型 &描述 | 属性 |
|---|---|---|
| 1 | down 它指定手指/按钮已向下移动。 |
|
| 2 | up 它指定手指/按钮已向上移动。 |
|
| 3 | tap 它指定向上和向下操作的发生。 |
|
| 4 | track 指定上下动作的发生。 |
|
示例
以下示例指定了模板中手势事件类型的使用。创建一个名为 index.html 的文件并将以下代码放入其中。
<!doctype html>
<html>
   <head>
      <title>Polymer Example</title>
      <script src = "bower_components/webcomponentsjs/webcomponents-lite.js"></script>
      <link rel = "import" href = "bower_components/polymer/polymer.html">
      <link rel = "import" href = "gesture-event.html">
   </head>

   <body>
      <gesture-event></gesture-event>
   </body>
</html>
Now, create another file called gesture-event.html and include the following code.
<link rel = "import" href = "bower_components/polymer/polymer-element.html">

//it specifies the start of an element's local DOM
<dom-module id = "gesture-event">
   <template>
      <style>
         #box {
            width: 200px;
            height: 200px;
            background: #D7D0B7;
         }
      </style>

      <h2>Gesture Event Types Example</h2>
      <div id = "box" on-track = "myClick">{{track_message}}</div>
   </template>

   <script>
      Polymer ({
         is: 'gesture-event', myClick: function(e) {
            switch(e.detail.state) {
               case 'start':
               this.track_message = 'Tracking event started...';
               break;
               case 'track':
                  this.track_message = 'Tracking event is in progress... ' +
                  e.detail.x + ', ' + e.detail.y;
               break;
               case 'end':
                  this.track_message = 'Tracking event ended...';
               break;
            }
         }
      });
   </script>
</dom-module>
输出
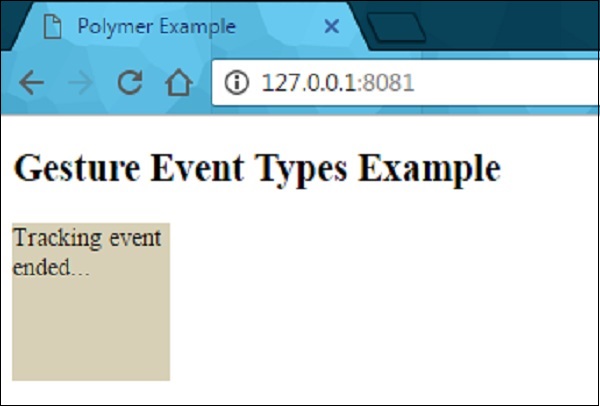
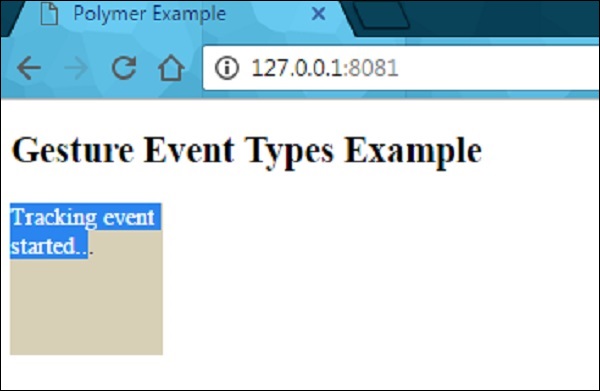
按照上例所示运行应用程序并导航至 http://127.0.0.1:8081/。现在开始在元素中拖动鼠标,它会显示如下图所示的状态。
在元素中拖动鼠标后,它会显示事件跟踪的进度,如下图所示。

当你停止拖动鼠标时,它会结束元素上的跟踪事件,如下图所示。