Zend Framework - 布局
布局表示多个视图的公共部分,例如页眉和页脚。默认情况下,布局应存储在 view/layout 文件夹中。
布局配置在 module.config.php 中的 view_manager 部分下定义。
骨架应用程序的默认配置如下 −
'view_manager' => array(
   'display_not_found_reason' => true,
   'display_exceptions' => true,
   'doctype' => 'HTML5',
   'not_found_template' => 'error/404',
   'exception_template' => 'error/index',
   'template_map' => array(
      'layout/layout' => __DIR__ . '/../view/layout/layout.phtml',
      'application/index/index' => __DIR__ . '/../view/application/index/index.phtml',
      'error/404' => __DIR__ . '/../view/error/404.phtml',
      'error/index' => __DIR__ . '/../view/error/index.phtml',
   ),
   'template_path_stack' => array(
   __DIR__ . '/../view',
),
此处,template_map 用于指定布局。如果未找到布局,则将返回错误。让我们看一下骨架应用程序的主要布局。
Layout.phtml
<?= $this->doctype() ?>
<html lang = "en">
   <head>
      <meta charset = "utf-8">
      <?= $this->headTitle('ZF Skeleton Application')->setSeparator(' - ')>
         setAutoEscape(false) ?>
      <?= $this->headMeta()
         ->appendName('viewport', 'width = device-width, initial-scale = 1.0')
         ->appendHttpEquiv('X-UA-Compatible', 'IE = edge')
      ?>

      <!-- Le styles -->
      <?= $this->headLink(['rel' => 'shortcut icon', 'type' =>
         'image/vnd.microsoft.icon',
         'href' => $this->basePath() . '/img/favicon.ico'])
         ->prependStylesheet($this->basePath('css/style.css'))
         ->prependStylesheet($this->basePath('css/bootstraptheme.min.css'))
         ->prependStylesheet($this->basePath('css/bootstrap.min.css'))
      ?>

      <!-- Scripts -->
      <?= $this->headScript()
         ->prependFile($this->basePath('js/bootstrap.min.js'))
         ->prependFile($this->basePath('js/jquery-3.1.0.min.js'))
      ?>
   </head>

   <body>
      <nav class = "navbar navbar-inverse navbar-fixed-top" role = "navigation">
         <div class = "container">
            <div class = "navbar-header">
               <button type = "button" class = "navbar-toggle" data-
                  toggle = "collapse" data-target = ".navbar-collapse">
                  <span class = "icon-bar"></span>
                  <span class = "icon-bar"></span>
                  <span class = "icon-bar"></span>
               </button>

               <a class = "navbar-brand" href = "<?= $this->url('home') ?>">
                  <img src = "<?= $this->basePath('img/zf-logo-mark.svg') ?>
                     " height = "28" alt = "Zend Framework <?= \Application\Module::
                     VERSION ?>"/> Skeleton Application
               </a>
            </div>

            <div class = "collapse navbar-collapse">
               <ul class = "nav navbar-nav">
                  <li class = "active"><a href = "<?=
                     $this->url('home') ?>">Home</a></li>
               </ul>
            </div>
         </div>
      </nav>

      <div class = "container">
         <?= $this->content ?>
         <hr>
         <footer>
            <p>© 2005 - <?= date('Y') ?> by Zend Technologies Ltd.
               All rights reserved.</p>
         </footer>
      </div>
      <?= $this->inlineScript() ?>
   </body>
</html>
当您分析布局时,它主要使用我们在上一章中讨论过的视图助手。仔细观察,布局使用了一个特殊变量 $this->content。此变量很重要,因为它将被实际请求页面的视图脚本(模板)替换。
创建新布局
让我们为我们的教程模块创建一个新布局。
首先,让我们在"public/css"目录下创建一个 tutorial.css 文件。
 body {
   background-color: lightblue;
}
h1 {
   color: white;
   text-align: center;
}
在 /myapp/module/Tutorial/view/layout/ 创建一个新布局文件 newlayout.phtml,并从现有布局中复制内容。然后,使用布局 head 部分内的 HeadLink 辅助类添加 tutorial.css 样式表。
<?php echo $this->headLink()->appendStylesheet('/css/tutorial.css');?>
使用 URL 帮助程序在导航部分添加新的 about 链接。
<li><a href = "<?= $this->url('tutorial', ['action' => 'about']) ?>">About</a></li>
此布局页面是教程模块应用程序的常用页面。更新教程模块配置文件的 view_manager 部分。
'view_manager' => array(
   'template_map' => array(
      'layout/layout' => __DIR__ . '/../view/layout/newlayout.phtml'),
   'template_path_stack' => array('tutorial' => __DIR__ . '/../view',),
)
在 TutorialController 中添加 aboutAction 函数。
public function aboutAction() {
}
在 myapp/module/Tutorial/view/tutorial/tutorial/ 处添加 about.phtml,内容如下。
<h2>About page</h2>
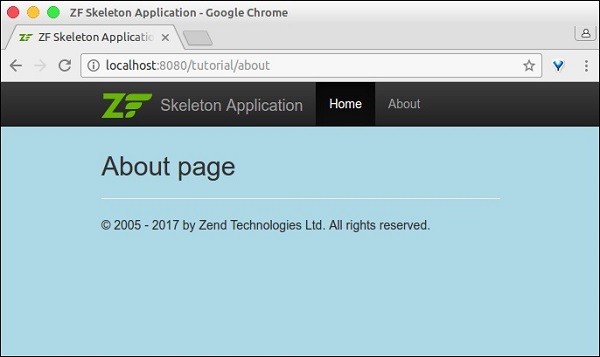
现在,您已准备好最终运行应用程序 − http://localhost:8080/tutorial/about。